


The Simplest Compost
the simplest compost
The easiest, fastest way to garden? Directly transplant into a potting soil bag. Low cost and minimal effort for small spaces.
composting seems like a lot of work!
Spring and fall involve lots of garden and yard clean up, a perfect time to start a compost pile. Compost is a great addition to topsoil to add nutrients, microbes, aeration, and structure to the soil in your garden beds and containers.
There are many ways to create and manage compost at home. Some are much quicker or take more maintenance than others. Some are slower, but also simpler. Speed is not always my goal with composting - I like to compost to reuse all the yard trimmings and waste that build up over the year.
Here, I'll share my favorite simple 'set it and forget it' compost method to get you started. I like to make one in late spring and one in fall each year.
What you'll need:
- Green + Brown Organic Material: Leaves, weeds, and more
- A part-sun/shady spot in your yard

Step 1: find a spot
Find a shady or part-sun spot for your compost.
If you have a fence or other barrier to place your compost pile against, it is not essential but will help with keeping the structure as your pile grows.
Be sure there is good aeration around the spot. You can put it directly on the ground, or use a large wooden or plastic container with ample openings on the sides to be sure it has enough exposure to air.


STEP 2: collect green and brown materials
Compost starts with 2 ingredient categories: Green and Brown organic material.
Green materials are any organic materials that have more carbon. Brown materials are any organic materials that have more nitrogen. A mix of carbon and nitrogen creates the conditions possible for microbes to turn organic material into soil.
Green materials include grass clippings, weeds, other green/fresh garden materials, manure, fruit and vegetable scraps, and coffee grounds.
Brown materials include dry leaves, straw and hay, and any other dry garden materials.
There are varying recommendations for what Green to Brown ratios to use. The best practice is to use a 2:1 green:brown ratio. Think of this like handfuls or bucketfuls. For every one handful of brown material, add 2 handfuls of green material.
A 1:1 green:brown ratio will also work. I've created many compost piles with 1 part green to 1 part brown. This ratio can work better for slower 'make as you go' piles, where you are slowly adding organic material throughout the season.
I start my piles with the 2:1 ratio, then add layers 1:1 slowly as I collect yard clippings throughout the season.
Except for vegetable scraps and coffee grounds, I tend to avoid kitchen scraps for this type of open pile. Since it's exposed, it is vulnerable to animals picking through. Because this very simple compost is more slow to decompose that other methods, it may also get smelly using lots of kitchen waste.
Avoid sticks and other hard woody materials, they will take much longer to break down using this compost method. Do not add any diseased plants, and avoid adding weeds that have gone to seed, as this method will not destroy pathogens or weed seeds.
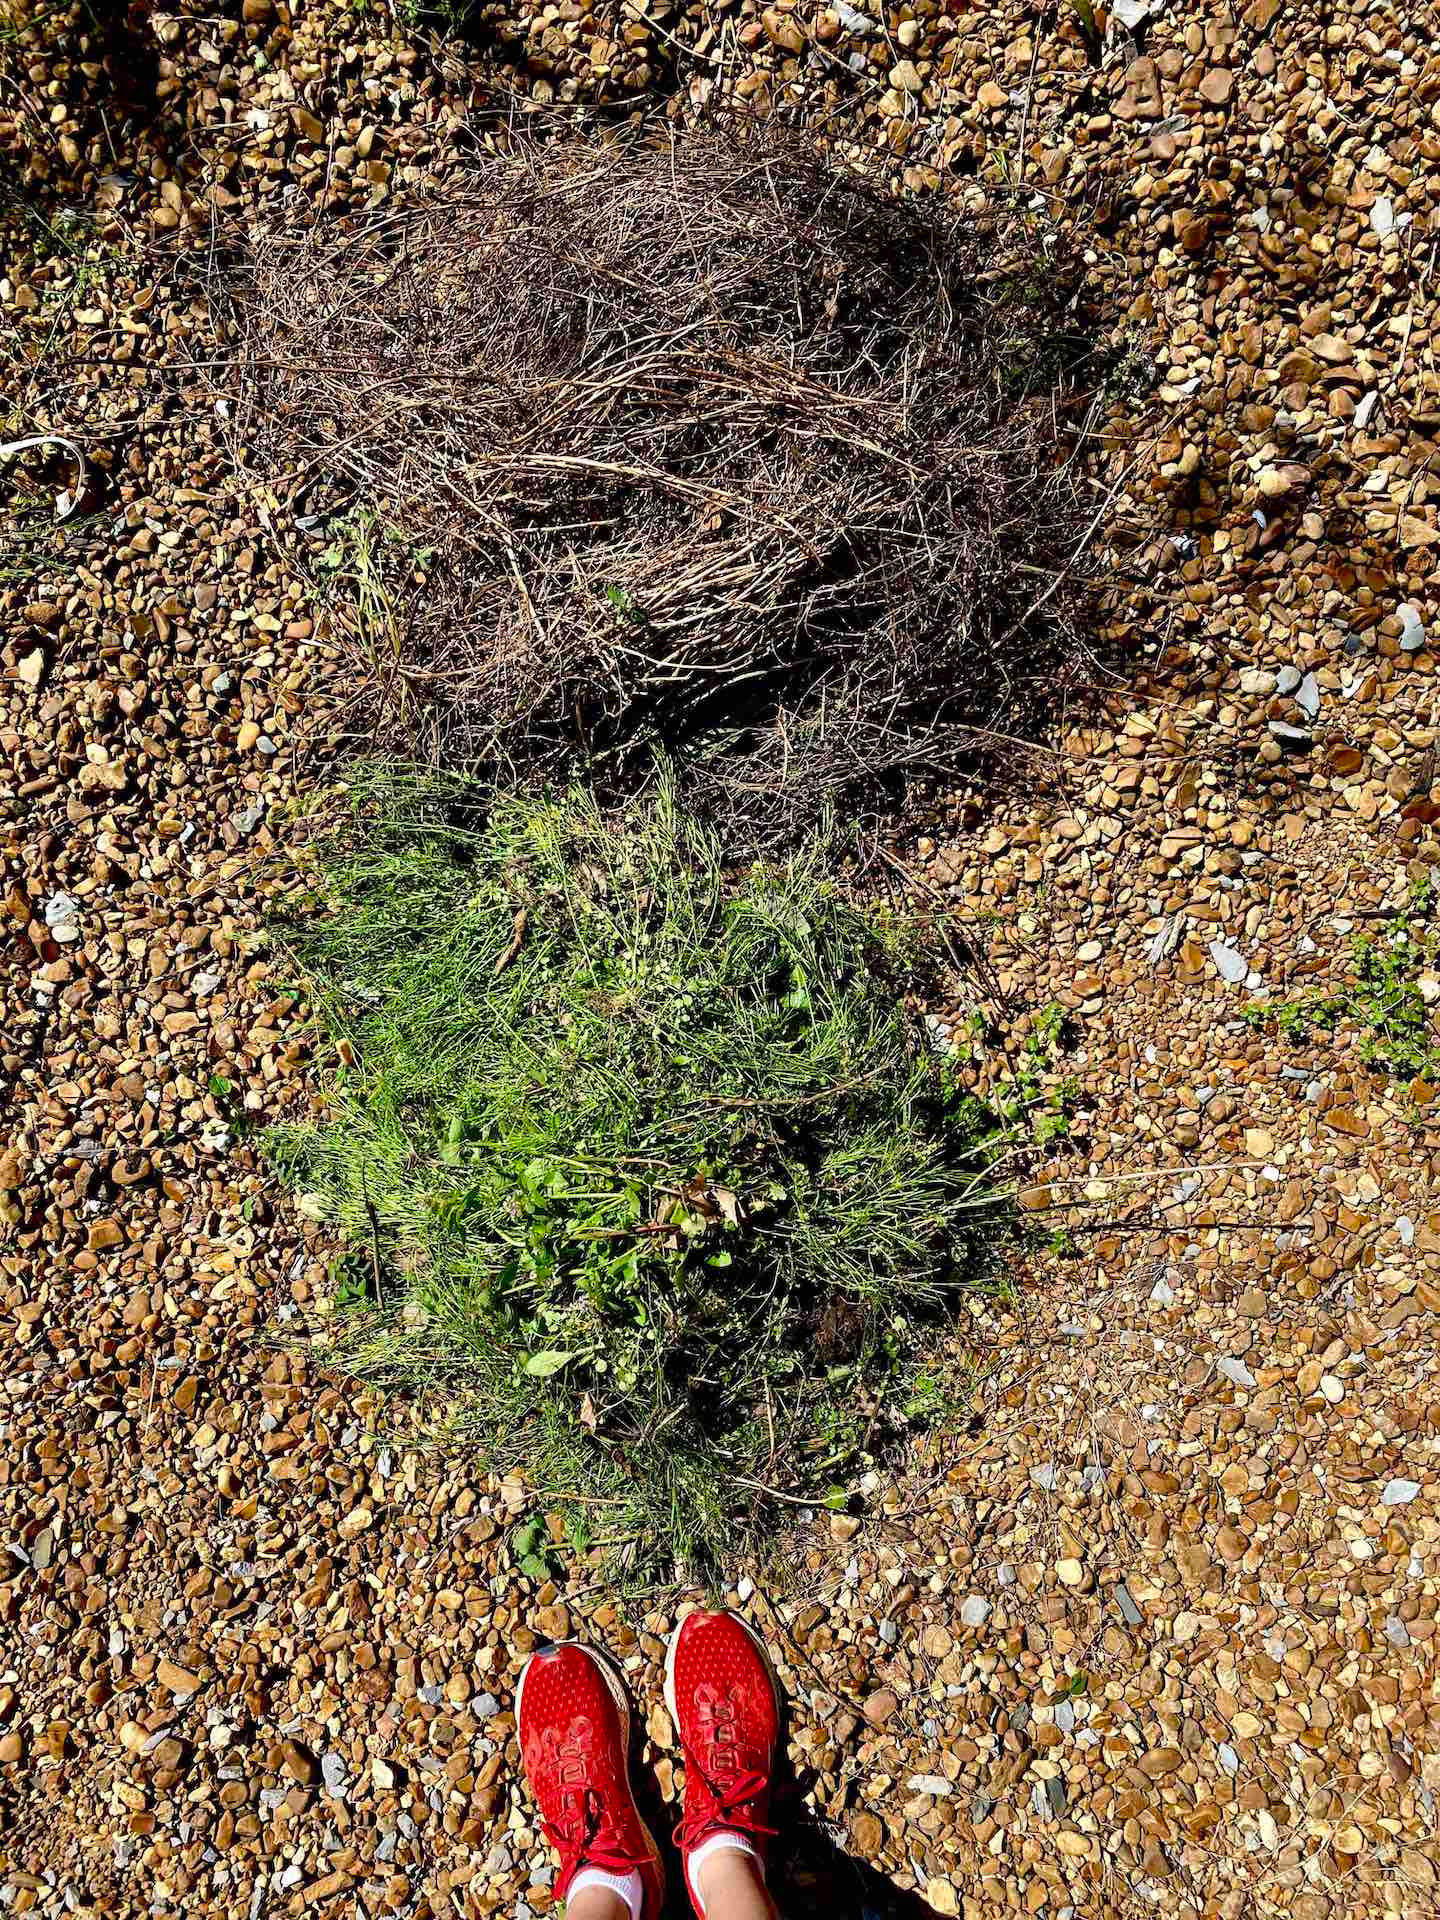


STEP 3: layer your materials
Starting with brown, layer brown and green materials into a pile. I like to make at least a 3ft x 3ft footprint for a medium sized study pile.
I sometimes add a very small amount of ash from my wood charcoal grill. Wood ash is alkali, which helps to balance the tendency for compost to be acidic. This less acidic soil can be better for vegetables. It also adds micro nutrients like phosphorous.
The larger your pile, the quicker it will decompose into soil. This is because the larger size will allow the center to heat up, quickening the process by improving microbial activity. However, smaller, colder piles will still eventually break down.


Step 4: forget it
- Make a larger compost pile
- Water thoroughly once a week, especially in drier climates
- Using a pitchfork, turn the compost by mixing it every 2-4 weeks. This aerates the materials and supports microbial activity. You do not need to turn your compost pile! It will speed things up, but is not required.
Step 5: add organic materials as available
Throughout the season, add more green and brown materials as they become available. Set it and forget it, or water and turn for quicker decomposition.
Step 6: check
Check underneath the first layer of your compost every couple of weeks. If it's very wet, turn in dry brown materials, and if needed, add a tarp to prevent rain from soaking your compost. If it's dry, water it.


Step 7: collect
Collect your soil when brown and crumbling and smells of earth, and your materials are no longer recognizable. Any heat that built up in your pile should be gone, and the soil should be cool to the touch. Depending on your climate, moisture, size and heat of your pile, and microbes, it takes between 3 to 9 months for this compost to be ready for harvesting.
Mix your compost in with existing topsoil (1 part compost and 3 parts topsoil) before planting. I hope this simple compost method gets you started on your soil making journey!
Have you made compost before? What methods have you used?


Leave a comment